Creation of QR Codes(Last update of this topic: 03-30-2023) |
  
|
(Last update of this topic: 03-30-2023)
Creation of QR Codes(Last update of this topic: 03-30-2023) |
|
As of version 6.5, the option of creating QR codes for the use of the steadyPRINT SecurePrint functions is available at different points in the steadyPRINT Center.
For example in the ribbon of a print server or folder or the respective context menu. (see figure steadyPRINT Center: Opening the SecurePrint QR code settings)
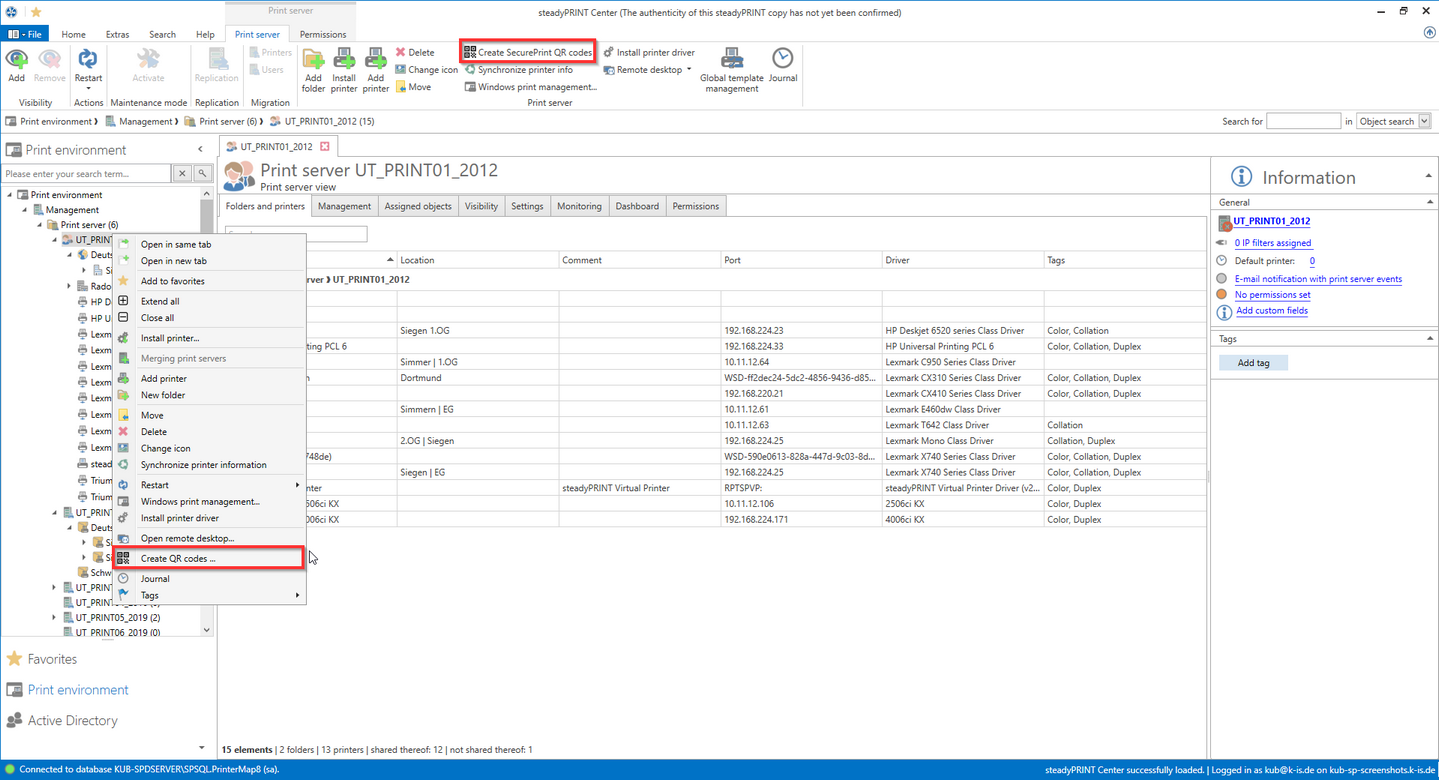
Figure 99: steadyPRINT Center: Open - Opening the SecurePrint QR code settings
Important |
Availability of buttons |
|
The buttons shown above are only available if the option for using the steadyPRINT SecurePrint function has been activated in one of the Agent profiles (see Agent Profiles) registered in the system. (see Activation of the SecurePrint Functionalities). |
You now have the option to create a QR code for all printers selected in the upper part. In any case, the value of the bar code is the unique SecurePrint-ID of the printer assigned by the system. This SecurePrint-ID is available in the detailed view of the printer (see figure steadyPRINT Center: Display of the SecurePrint-ID).
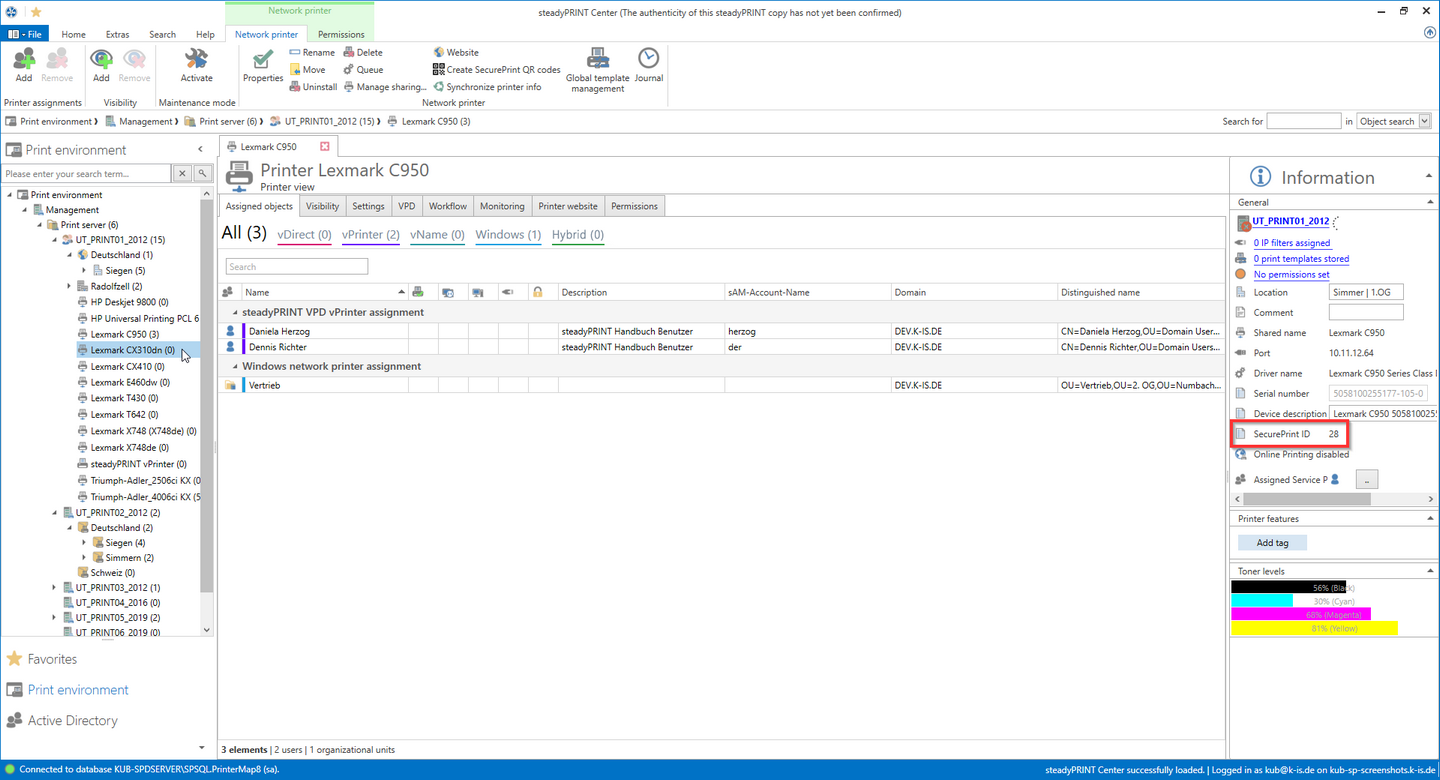
Figure 100: steadyPRINT Center: Display of the SecurePrint ID
Moreover, additional bar code labels can be added.
The following values are available:
| o | Printer name |
| o | Printer location |
| o | Printer comment |
| o | SecurePrint ID |
| o | All assigned user-defined fields (See User-defined fields) |
For each additional field you have the option to specify whether it is to be printed in bold, in italics of with a prefix (see figure steadyPRINT Center: Adjusting the SecurePrint QR Code Labels).
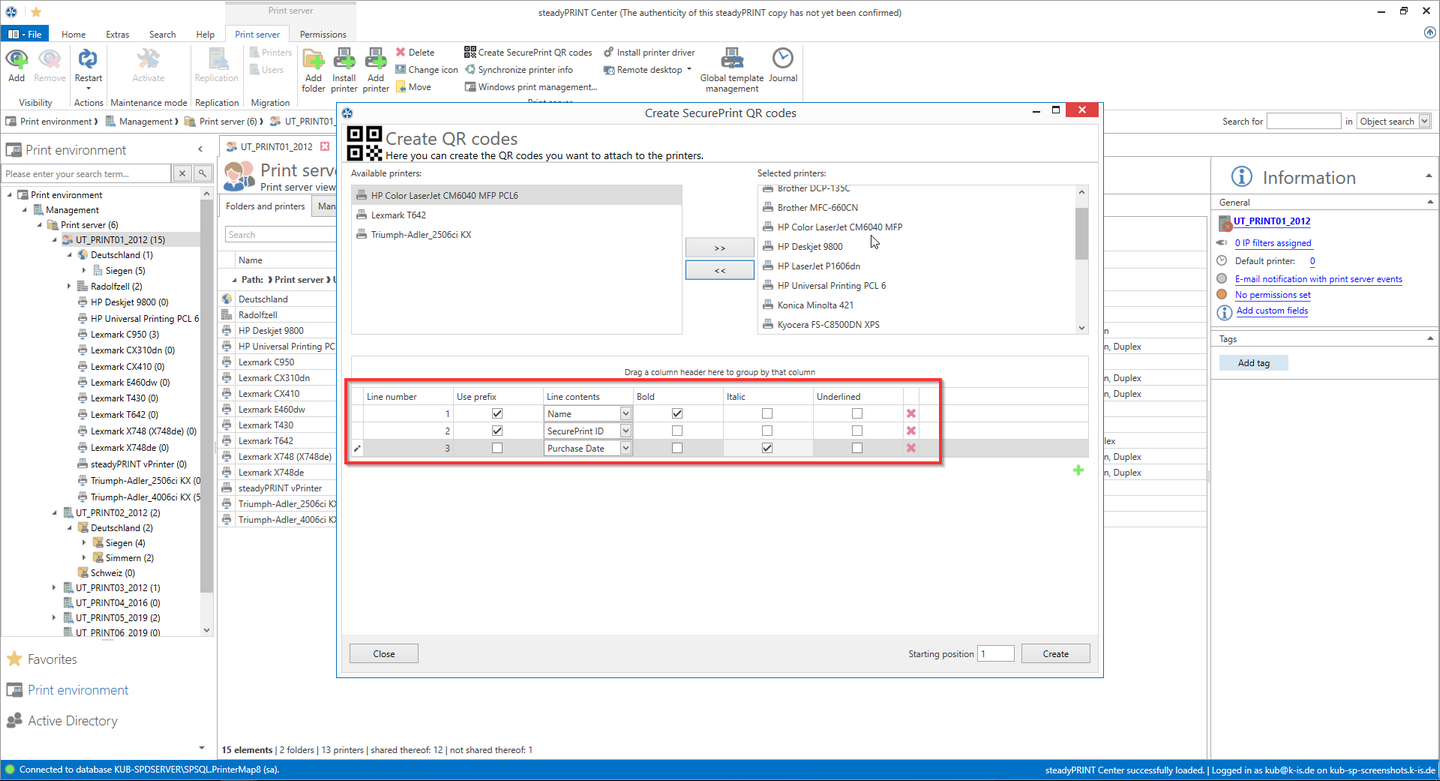
Figure 101: steadyPRINT Center: Adjusting the FollowMe QR Code Labels
You have the option to print up to 10 additional information on one QR code.
Note |
Specifying the start position of bar codes to be printed |
|
It is also possible to specify at which position of the labeling paper the bar code print should begin.
Example: You have already printed 6 bar codes but would like to continue to use the labeling paper. The start position would now be set to "7". (See "5" in screenshot). |
As soon as the master configuration has been completed, confirm by clicking Create and move to the selection of the labeling paper.
Here the labeling paper can be selected.
Note |
Specifying the start position of bar codes to be printed |
|
In case your labeling paper does not appear for selection, the paper dimensions can be adjusted manually.
Our steadyCONSULTANTS will be glad to help you. |
Then just click Continue.
In the following, the report designer opens. You now have the option to eventually adjust the layout, to have the report displayed via "print preview" in the ribbon and to print (see figure steadyPRINT Center - Printing SecurePrint QR Codes).
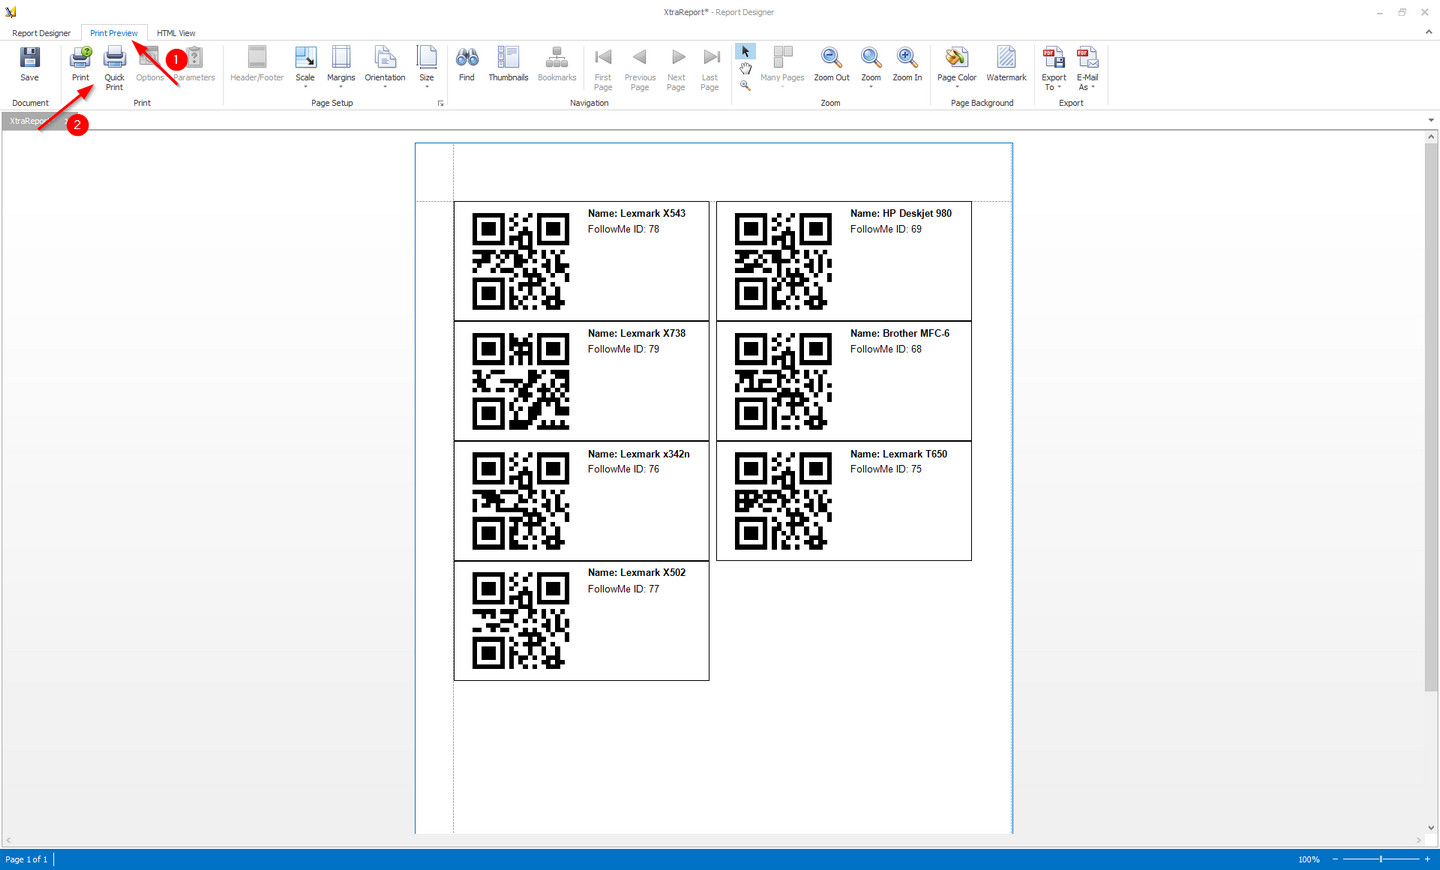
Figure 102: steadyPRINT Center: Printing SecurePrint QR Codes