(Last update of this topic: 12-02-2021)
Each user can individually use one or several batches. For example, create a batch for invoices or collect all the documents you need for a project or an appointment in a batch first.
Store your printouts in a batch if you are on the move and have no physical printer within your reach. As soon as you get back to the office, you will be reminded of open print jobs which can then be printed.
Administration of Batches
In order to configure your batches, click the tile Batch printers (see figure Open batch print via the Agent).
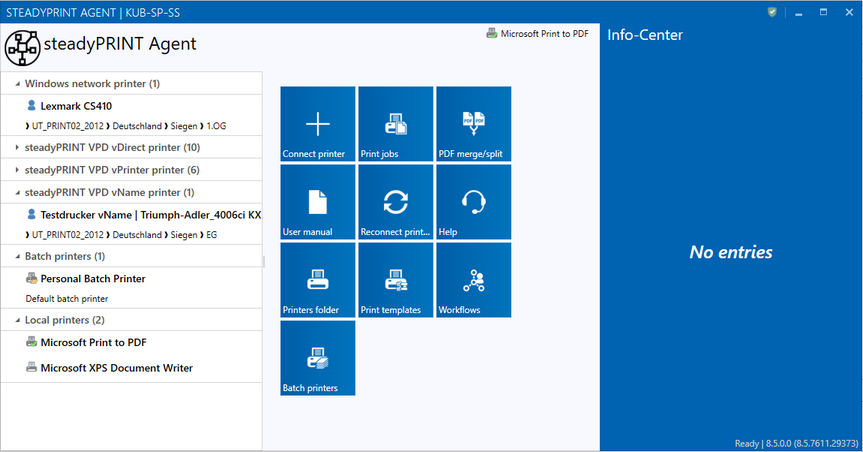
Figure 79: Open batch print via the Agent
Here you get to the view for the print jobs. Under Manage batch printer (see figure Manage batch printers) you can add, edit or remove a batch.
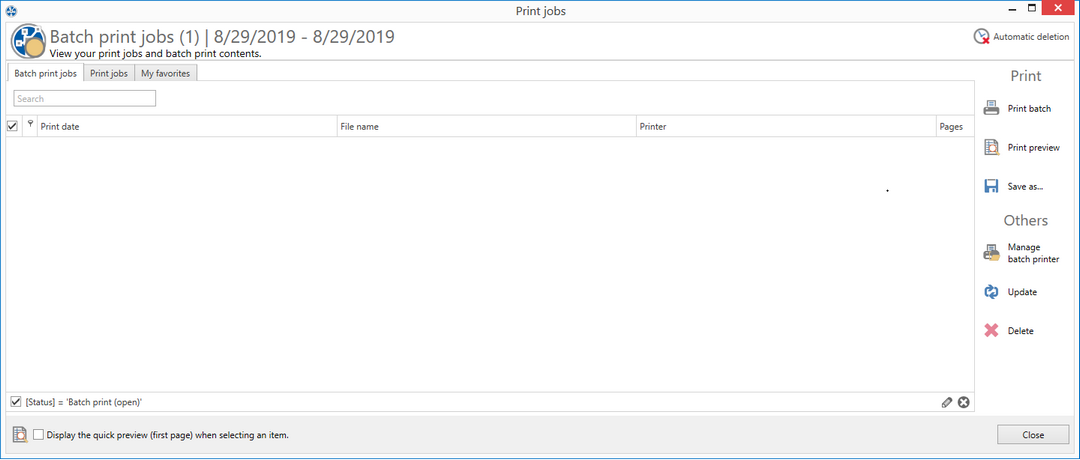
Figure 80: Manage batch printers
Create or delete a batch or edit an existing batch in the view Batch printer (see figure View of individual batch printers).
For creating a batch, enter a new name and optionally a comment in the first line of the grid.
For editing a batch, you can modify the text in a line.
For deleting a batch, click the X button or work via the context menu.
Share a selected batch with other users via the Share button at the bottom left.
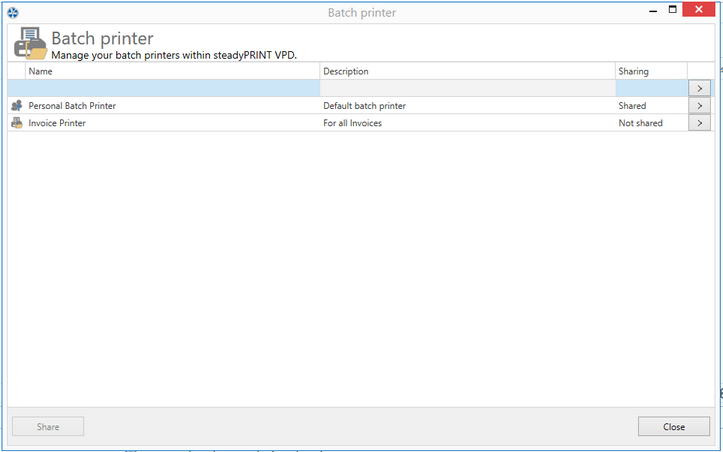
Figure 81: View of individual batch printers
Use of a Batch
Once a batch is created, you can print documents to this batch (see figure Batch printer in vPrinter). A batch is available via the vPrinter or the batch action in the workflow.
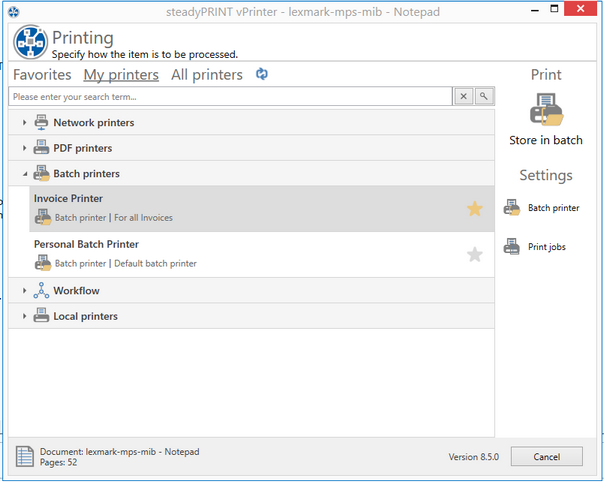
Figure 82: Batch printer in vPrinter
By storing the document in a batch, it is automatically stored in the database in encrypted form. The print job view (see figure View of printed jobs in a batch printer) in the Batch print jobs tab displays all documents printed into the batch.
Now you can print your documents or process them in a workflow.
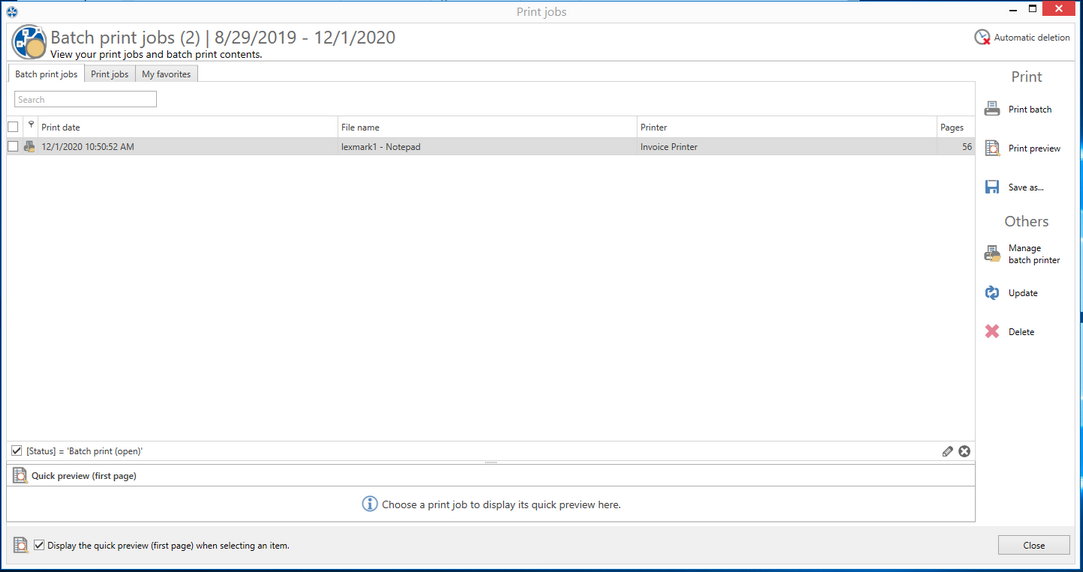
Figure 83: View of printed jobs in a batch printer