(Last update of this topic: 05-22-2015)
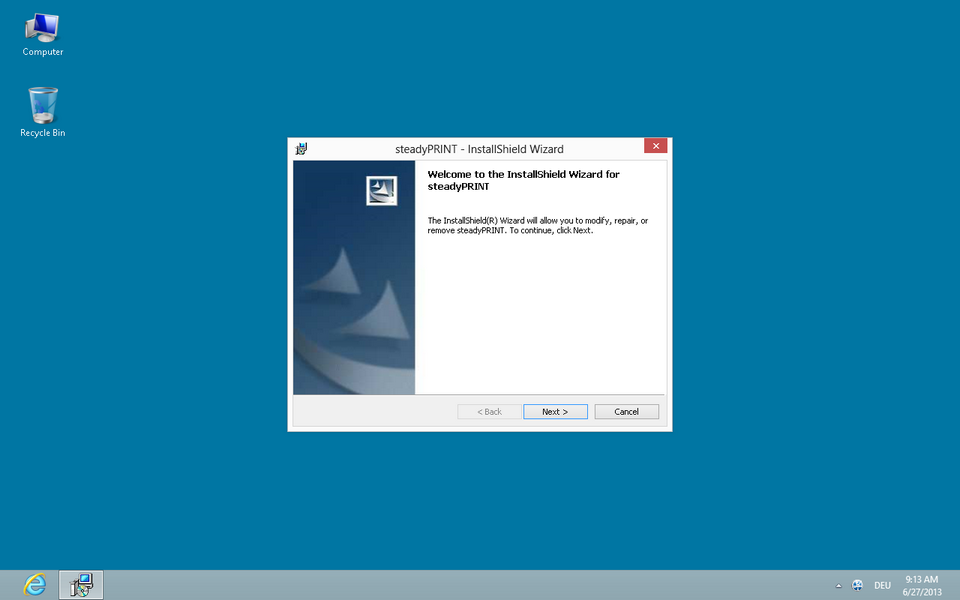
After starting the installation routine, you will see the Welcome Screen with the words “Welcome to the InstallShield Wizard for steadyPRINT,“ Figure - Installation - the welcome screen.

Figure 3: Installation - the welcome screen
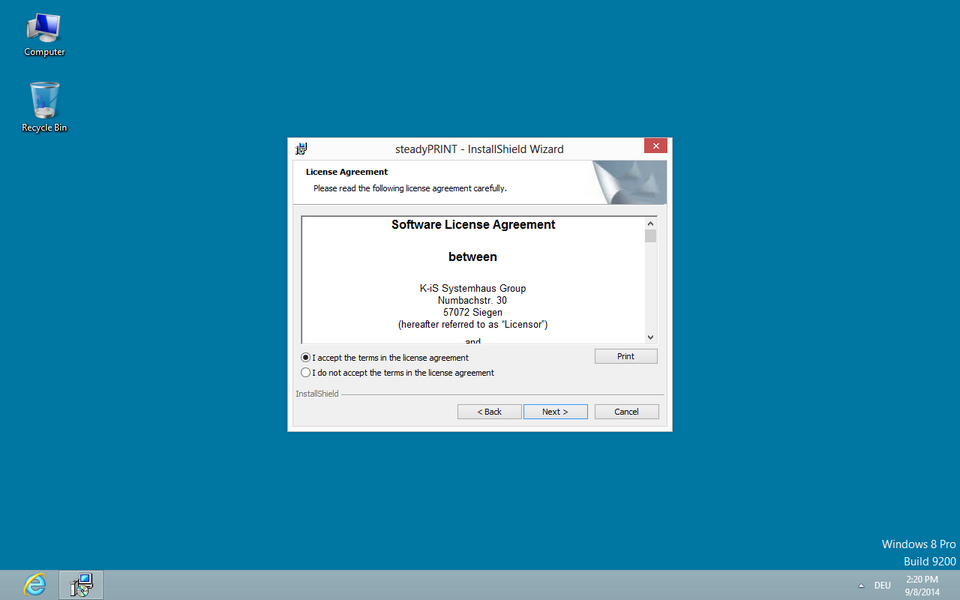
By clicking on the Continue button, you will progress to the next dialog box. This displays the license agreement, Figure - Installation - the license agreement.

Figure 4: Installation - the license agreement
You will now be asked to confirm the license agreement. You are advised to read the steadyPRINT Software License Agreement conscientiously. Accepting the license agreement is necessary to continue with the installation. To do this, select “I accept the conditions of the license agreement“ and confirm your selection by clicking on the Continue button, thus bringing you to the user information particulars.
By declining to accept the license agreement, the installation routine ends.
Important |
Accepting the License Agreement |
|
In order to install the steadyPRINT program components you must agree to the software license contract. The installation cannot continue should you decide not to accept the license agreement. |

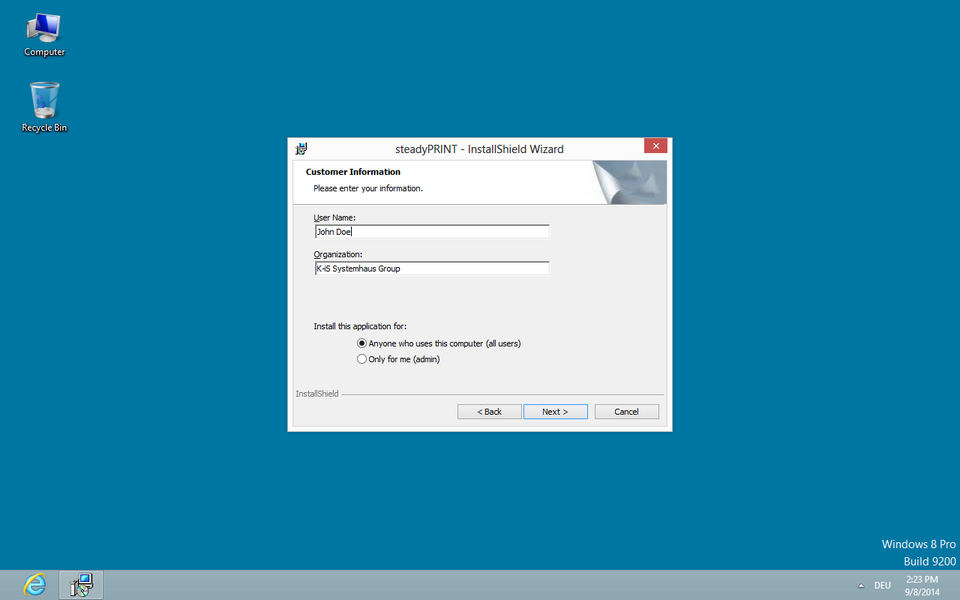
Figure 5: Installation - user information
In the two input fields User Name and Organization, please enter your full name and the organization for which you are working (Figure - Installation - user information). To confirm your entries, click on the Continue button.
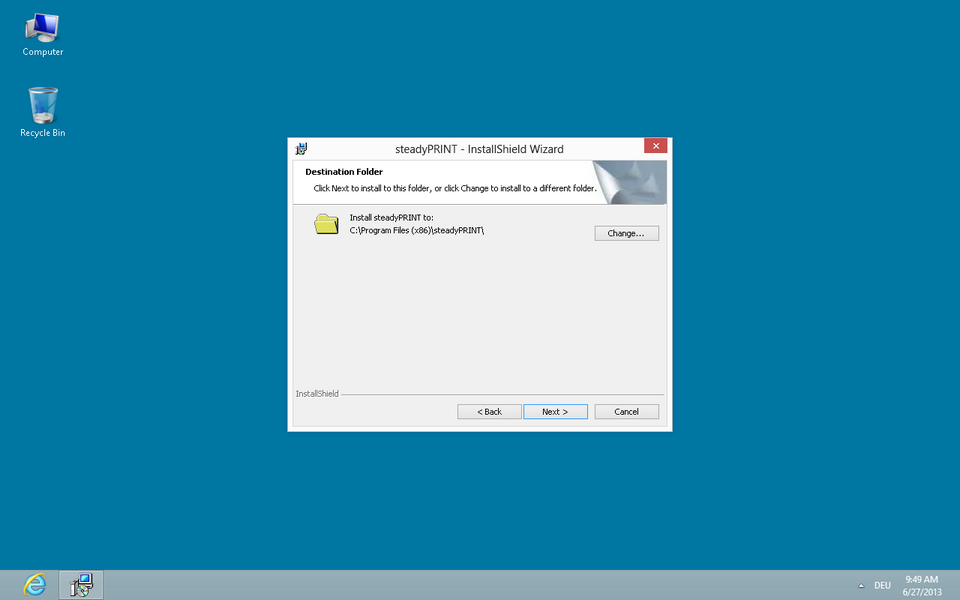
The following dialog box, Figure - Installation - destination folder, requires that an installation directory for the steadyPRINT Components on your local hard drive be specified.

Figure 6: Installation - destination folder
If you wish to use an installation folder other than the default destination folder location suggested, it is possible for you to do this using the Edit button.
Then click on the Continue button to configure the components for installation.