Installation of the Clients (steadyPRINT Agent)(Last update of this topic: 04-16-2025) |
  
|
(Last update of this topic: 04-16-2025)
Installation of the Clients (steadyPRINT Agent)(Last update of this topic: 04-16-2025) |
|
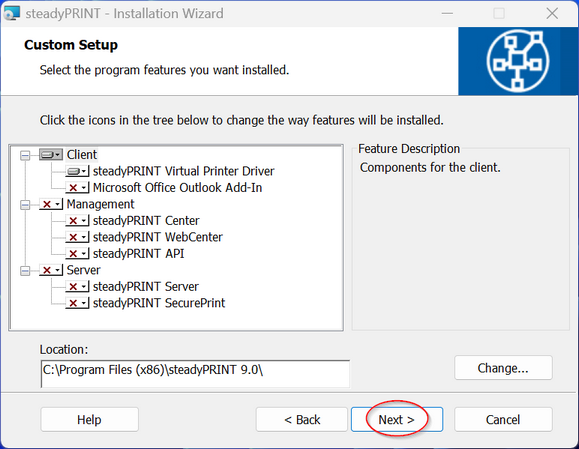
Figure 225: Select Client components & next
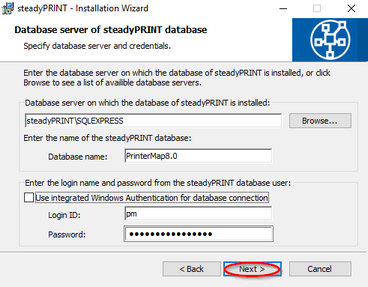
Figure 226: Next
Enter the information for the database server, the steadyPRINT database and the separate database user for steadyPRINT as of the installation of the database that have been specified before when creating
the database within the application CreateSteadyDB.
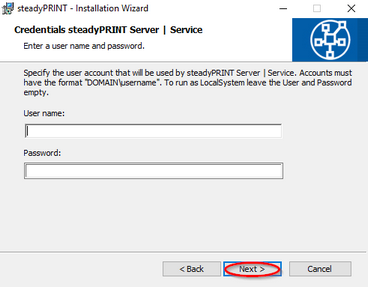
Figure 227: Next
For a usual client installation (steadyPRINT Agent), the pre-defined user localsystem can be kept.
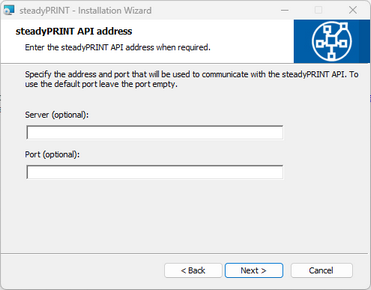
Figure 228: Next
For a usual client installation (steadyPRINT Agent), the address for steadyPRINT API can be left bland. The specification of the steadyPRINT API is currently only required on the client side to communicate with Microsoft Entra ID. If this is not necessary due to the login context and the assignments, you can skip this point without providing any information.
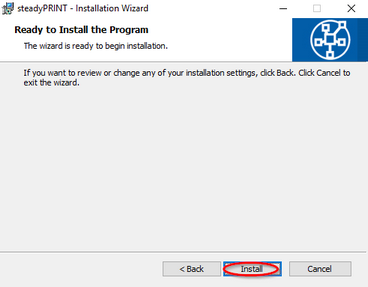
Figure 229: Install
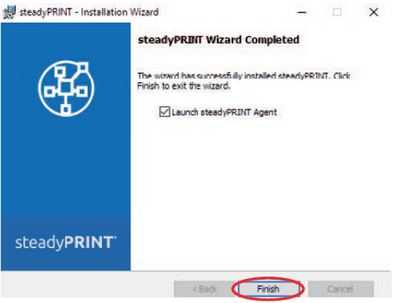
Figure 230: Complete the Installation
The steadyPRINT Client components have been completely installed.Click Finish to complete the installation